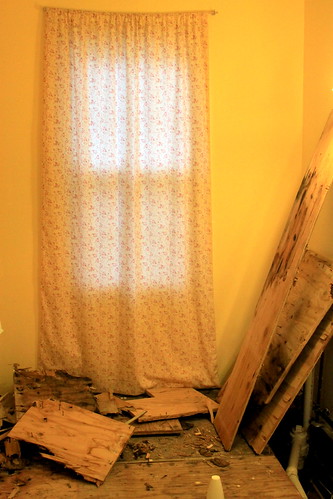
So, that's where we started. Removing all of the fixtures, pulling up the carpet, the lovely smelling carpet, and finding that the floorboards were also damaged and molding.
It looked like this for a while because of the smell. In between whatever smell was lingering and the toilet drain-pipe, it smelled really ripe for a while. In the bottom middle of the picture you can see an air freshener.
So, after the smell had left and the nasty floorboards were taken care of the floor was stripped wide open to the joists. Although they were serviceable, they needed much reinforcing. If they weren't reinforced, there was no way that 33 gallons of water and I were getting in a soaker tub and manage to NOT fall through the floor, ending up in the kitchen!
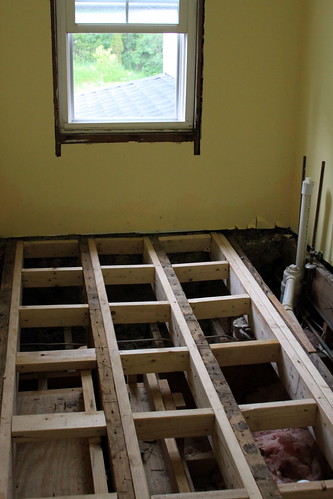
Luckily enough the 2x4's we used for the cross beam reinforcement were salvaged from a frame and glass display in another room. Now I'm sure you noticed that the window was not completely cased either. And the bottom pane has a crack in it. Score! (not so much)
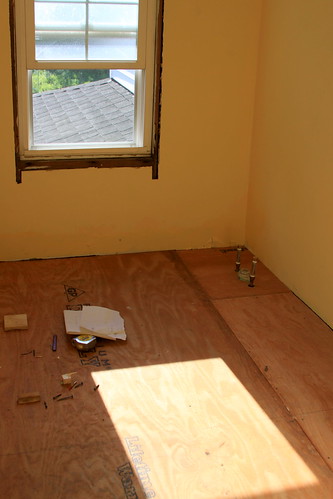
After building the actual floor level, some plumbing assistance was needed. Once the pipes were rebuilt and straightened and the water lines were checked and soldered, you can lay a floor. All those internal bits had better be working now...
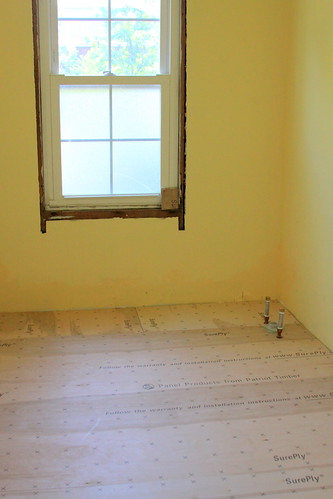
Not much to do at this point other than throw another layer of wood down. This time a layer of Lauan (It is apparently pronounced Luon. Which makes no sense to me phonetically). Now, I'm not sure if this step was truly necessary as I just found out tonight that the tile goes on a layer of cement board to prevent cracking over the years (Apparently when you put tile on Lauan it cracks eventually.).
I think it looks lovely so far. The walls will not remain that color, it will be more of a frosty blue-green. Think beach. Or, at least, that's what I hope to be thinking and feeling while in the tub.
Check back for Part Two on August 20th!
I will never understand people who put carpet in kitchens or bathrooms. Strange.
ReplyDelete(PS. This is Kristel/clumsy-chord from LJ.)